


How to Gua Sha With Essential Oils

Step aside, jade roller. A new, East Asian tradition is sweeping social media as the secret to youthful, contoured skin. We’re talking gua sha. Deemed a “botox alternative,” gua sha (pronounced gwa-sha or gwa-saw) is the use of a smooth-edged tool to stroke the skin. This causes circulation of stagnant blood and lymph, increasing cell turnover, stimulating the immune system and relieving soreness. Gua sha tools are typically made of jade, crystal, quartz and other gemstones. If you decide to get one, purchasing one with a notch is preferred. Don’t want to purchase a gua sha tool? Try using a spoon, comb or other flat, smooth object.
To reduce friction, a lubricant is used, which allows you to easily glide your gua sha tool along your skin. Rather than use average vegetable oil to make your skin slippery and glid-ey, might we suggest the use of essential oils that work doubly to tighten and nourish skin?
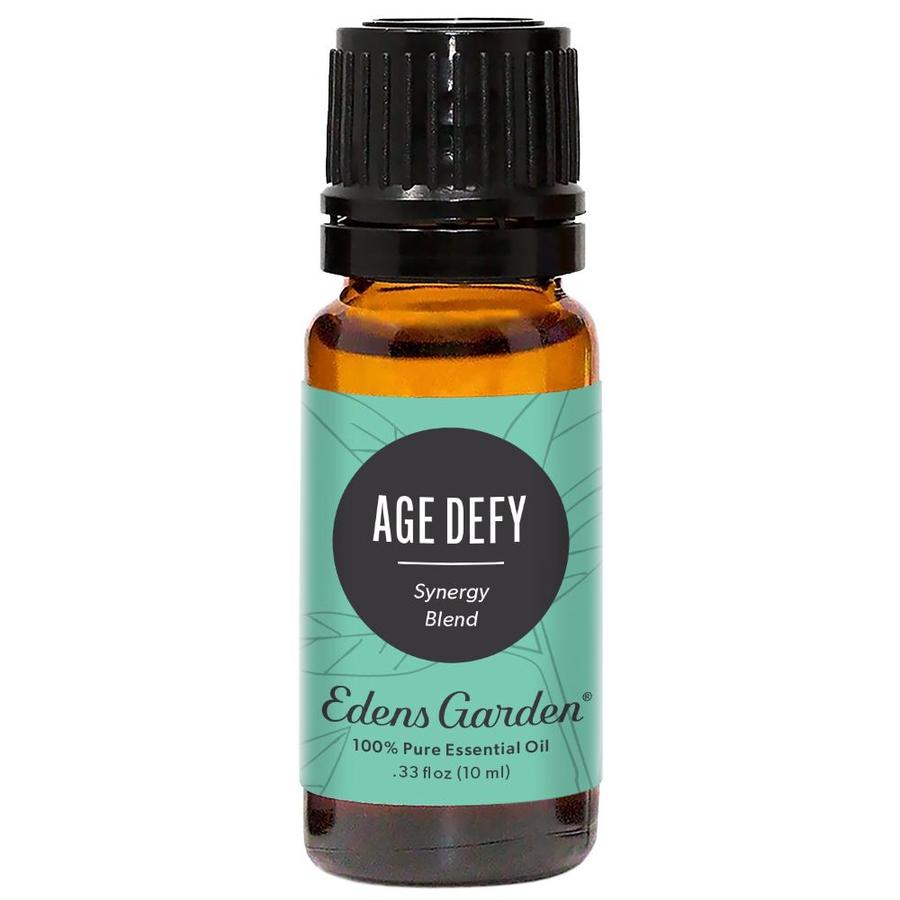
For example Age Defy is a skin-tightening blend of Frankincense, Sandalwood, Lavender, Myrrh, Helichrysum and Rose that promotes the appearance of naturally lifted, brighter, more beautiful skin. When combined with the skin-tightening effects of gua sha, the benefits are limitless. So just how do you use gua sha? Let us break it down for you.
How to Perform Self Gua Sha
Apply Age Defy or your oil of choice along each area, as directed, in the following steps. Each step should be performed five to ten times. The speed at which you use your tool should be slow and steady. Unless otherwise stated, light-to-medium pressure should be used. The tool should be held flat — at a slight tilt — against your skin (don’t use the edge directly). Upward motions should only be used, no up and down motions. Occasionally, placing your fingers or hands on an area of your neck or face is advised so that your skin can remain taut. After each step, wiggle the tool to massage your endpoint. This routine can be performed 1-2 times per week using the Age Defy roll-on, or daily using a carrier oil alone as your lubricant.
- Spine to head (notch side): Allow your gua sha tool to hug your spine. Starting at shoulder level, move up your spine until you reach the base of your skull.
- Shoulder to jaw (long side): Travel from your shoulder up along your neck until you reach your jaw. Repeat on the opposite side.
- Collarbone to jaw (long side): Place your hand on your collarbone to keep your skin taut. Travel from your collarbone, up to your jaw. Repeat on the opposite side.
- Sternum to jaw (notch side): Place your fingers at the top of your sternum. Using light pressure, travel from the top of your sternum, along your throat, ending at your jaw.
- Chin to ear (notch side): Hold your chin in place. Travel from your chin, along your jaw, ending at your ear. Repeat on the opposite side.
- Nose to ear (long side): Placing your fingers beside your nose, travel from your nose, along your cheek, ending at your ear. Repeat on the opposite side.
- Under-eye to ear (notch side): Place a finger near the inner corner of your eye. Using feather-light pressure, move from the corner of your eye up to your ear. Repeat on the opposite side.
- Brow to temple (notch side): Start at the middle of your brow and travel along your brow bone. When you reach the end of your brow bone, move upwards, ending at your temple. Repeat on the opposite side.
- Eyelid to forehead (long side): Hold your eyelid (while closed). Starting just below your brow, stroke up across your forehead and end at your hairline. Repeat on the opposite side.
- Forehead (long side): Hold the area between your eyebrows. Move from the top of your nose, across your forehead, ending at your hairline.
More of a visual learner? Watch a video on how to perform gua sha here.
Grab The Essentials Here:


About the Author, Bella Martinez
Bella Martinez is a Certified Aromatherapist, Natural Skincare Formulator and Edens Garden’s lead aromatherapist. An industry expert, Bella has spent years training and learning in the aromatherapy field, which she continues annually. Her passion is taking evidence-based aromatherapy and making it approachable for all.


Leave a comment (Comments will be approved before showing up)